📚 Getting Started
This category will describe how to create your own Skript addon, with explanations of the different parts of the addon. It's inspired by LimeGlass's Addon Tutorial, although it's not just an updated wiki.
Warning
I assume that you already have an IDE on your computer, as well as basic knowledge of Java.
I'll be doing a tutorial on how to set up the whole project later, so stay tuned!
Info
We'll use IntelliJ IDEA for this tutorial, but you can use any IDE you want. The community edition will most likely be enough, but you can use the ultimate edition if you want.
Create the projet
First, we have to set up a new project. I highly recommend this plugin for IntelliJ to set up a whole Minecraft plugin project for you.
To do so, open IntelliJ IDEA, go under File > New > Project.... On the sidebar, look for Minecraft. Change the settings so you have something like that:
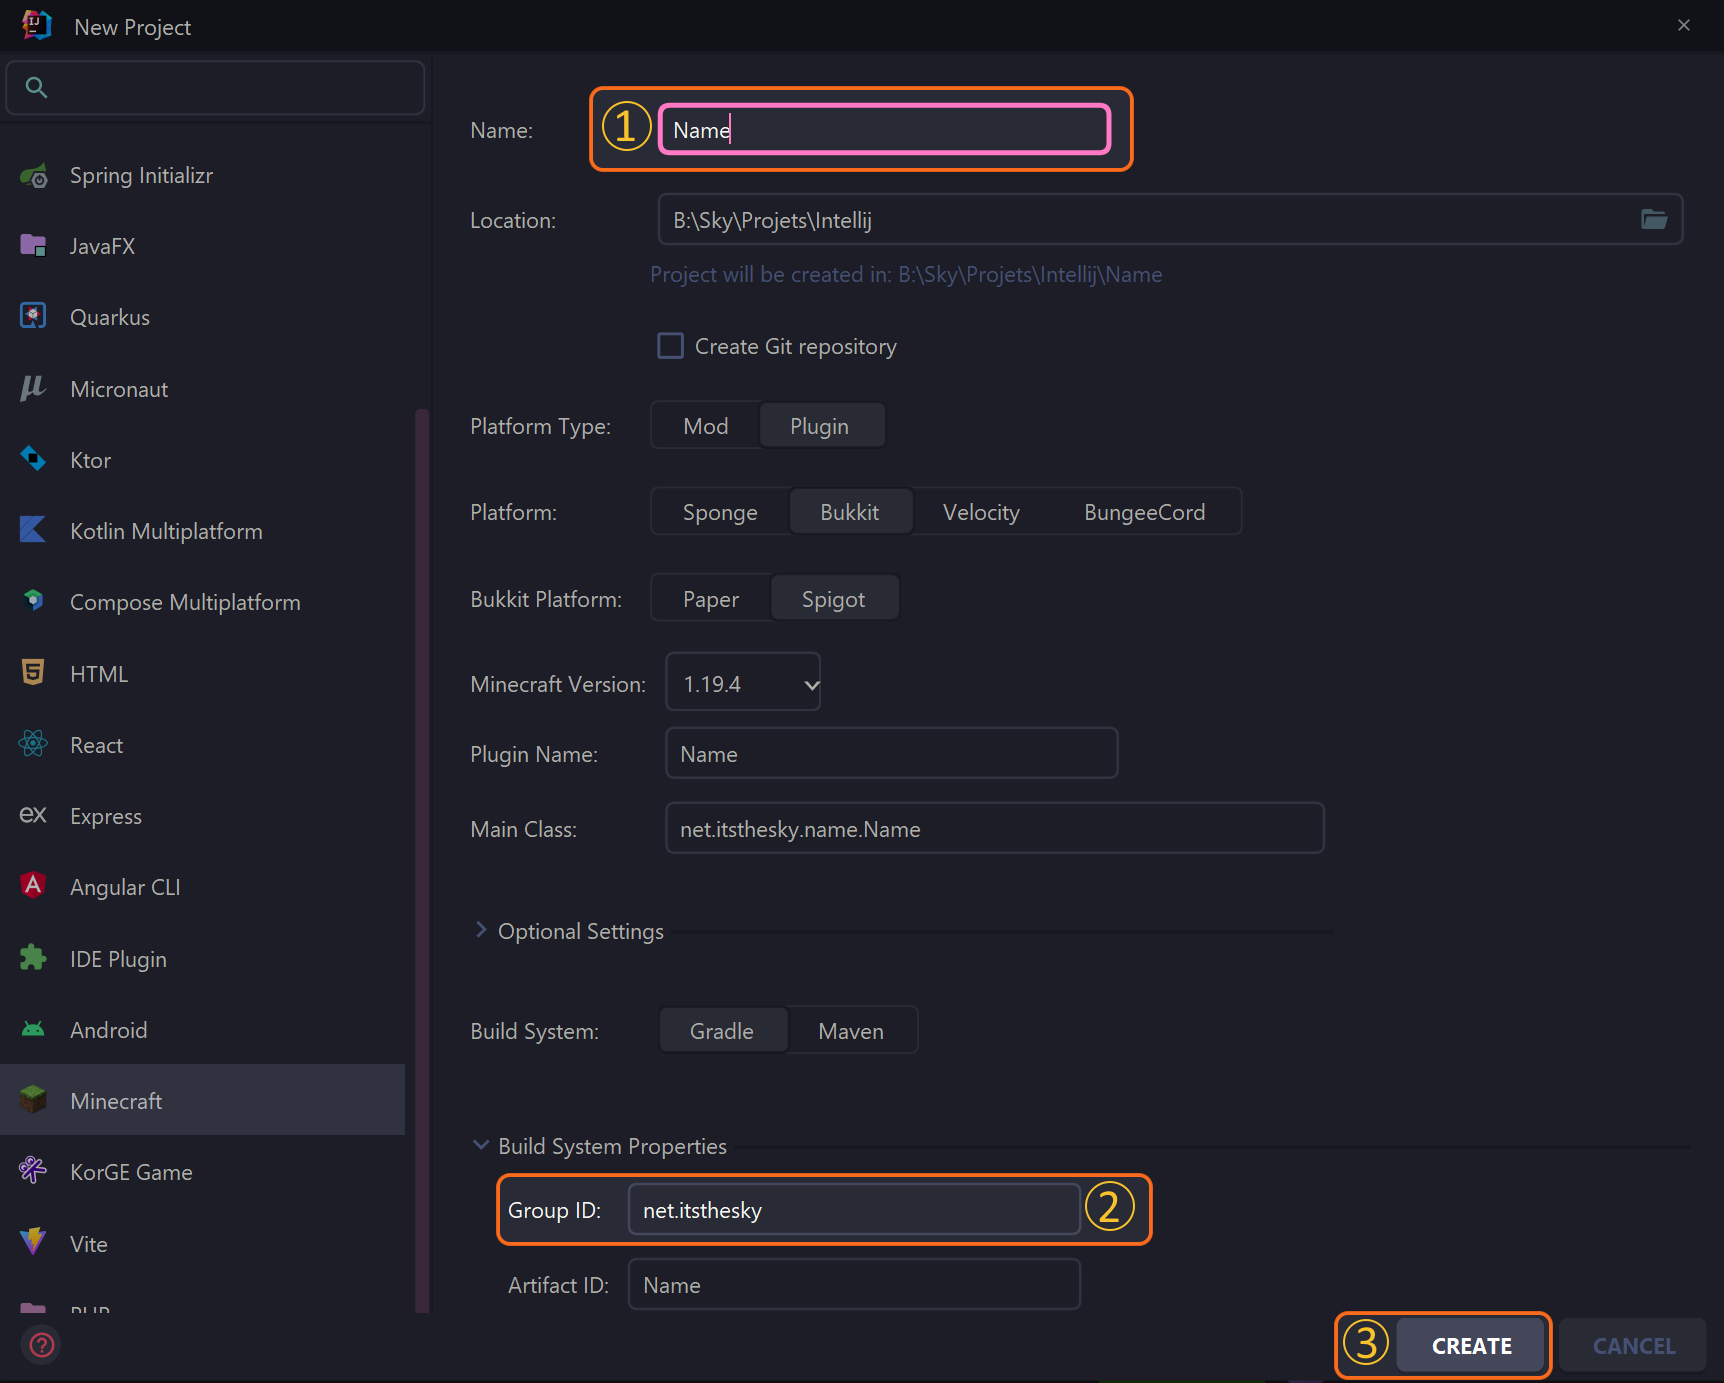
- This is the name of your project. It'll be used in-game and as folder name.
- You can change the package name here, the
Main Classfield should update automatically. - Click on 'Create' once you're done.
Then let IntelliJ setup the project & Gradle for you!
Add Skript as a dependency
In order to use Skript as a dependency, and use it within our project, we must declare it:
-
Open the
build.gradlefile in your project. -
Locate the
repositoriesblock section. -
Adds
maven { url = 'https://repo.skriptlang.org/releases' }to the list of repositories. It should look like that: -
Locate the
dependenciesblock section. -
Add
compileOnly 'com.github.SkriptLang:Skript:2.6.4'to the list of dependencies. It should look like that: -
Click on the
Syncbutton at the top right of the screen: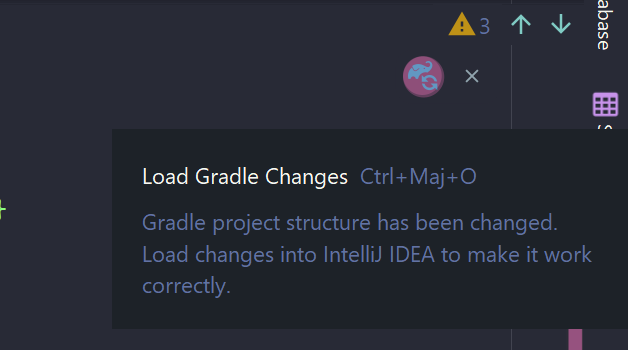
And here it is!
Register the addon
Now, we must register the addon & define a package where all our elements will be stored. Open your plugin's main class, and add the following code:
package my.addon;

import org.bukkit.plugin.java.JavaPlugin;

public final class MyAddon extends JavaPlugin {

    @Override
    public void onEnable() {

        SkriptAddon addon = Skript.registerAddon(this);//(1)!

        addon.loadClasses("my.addon", "elements");//(2)!

    }

}
- This line registers the addon. tbh, I don't know what it does, but it's needed to register elements
- This line loads the classes. The first argument is the package where your plugin is, and the second one is the package where your elements are.
We can now start creating elements! 🎉
Organization
In order to keep your project organized, I recommend you to follow these rules (although they're not mandatory):
- Group your elements by types (e.g. one package for
effects, one forconditions, etc.) -
Use the adequate prefix for an element's class:
Element Prefix Effect EffCondition CondExpression ExprProperty PropEvent Evt
For instance:
How does it work?
You may have read effect or condition in the previous section. But what are they? How do they work? Let's see that!
Elements
Skript language is based on different elements on different. For instance, this following code:
... can be unpacked as such:
on chat:
Although we usually call them events, they're actually triggers (such as when you create a command). Without that, there's no way to run Skript code! They'll be the base for any other code.
In this example, the trigger is
on chat:. It'll run the code below when a player sends a message in the chat.
player and "Hello there!"
Expressions are the values that will be used by the effect. They can be anything, from a string, to a player, to a location.
Info
There's two main type of expression:
- Literal expressions are the ones that never change, whatever the event or context is. e.g.
"Hello There!". - Contextual expressions are the ones that can change, depending on the event or context. e.g.
playeror a variable.
Here, we have two expressions:
"Hello there!"andplayer. The first one is a literal expression, and the second one is a contextual expression, that'll be "replace" by the player that triggered the event.
if player is op:
Conditions are the tests that will be executed before the effects. They can be anything, from checking if a player is an operator, to checking if a player is in a specific region.
Here, we have a condition:
player is op. It'll check if the player that triggered the event is an operator.
Info
Although all conditions starts with the if keyword, you can omit if if you want.
send "Hello there!" to player
Effects are the actions that will be executed when the trigger is called. They can be anything, from sending a message to a player, to spawning a firework.
Note
Effects usually (~95% of the time) take expressions as arguments, for specific behaviors!
Here, we have an effect:
send "Hello there!" to player. It'll send the messageHello there!to the player that triggered the event.
Sooo, after your reading, here's a small recap:
- All script code has to be in a trigger (event).
- Expressions are the values that will be used by the effect. They can also be contextual, and will be replaced by the value they represent.
- Conditions are the tests that will be executed before the effects.
- Effects are the actions that will be executed when the trigger is called.
- Elements are the base of Skript code. They can be a trigger, an expression, a condition or an effect.
Now, you have a better knowledge on how to create elements! Use the sidebar to choose the element you want to create.